Step 1
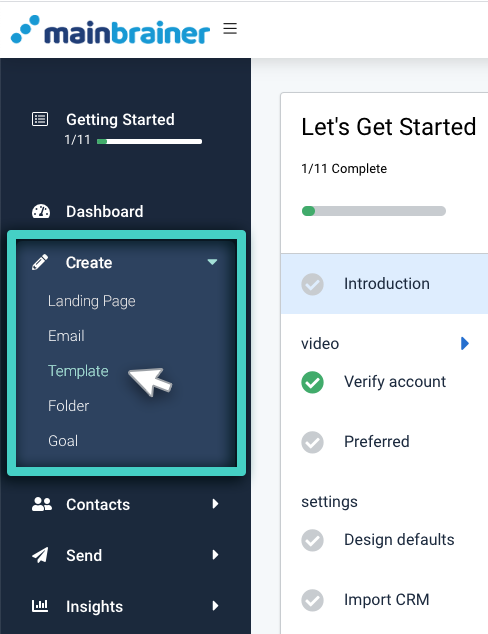
Use the Main Menu on the left to expand the Create menu and click Template.
Step 2
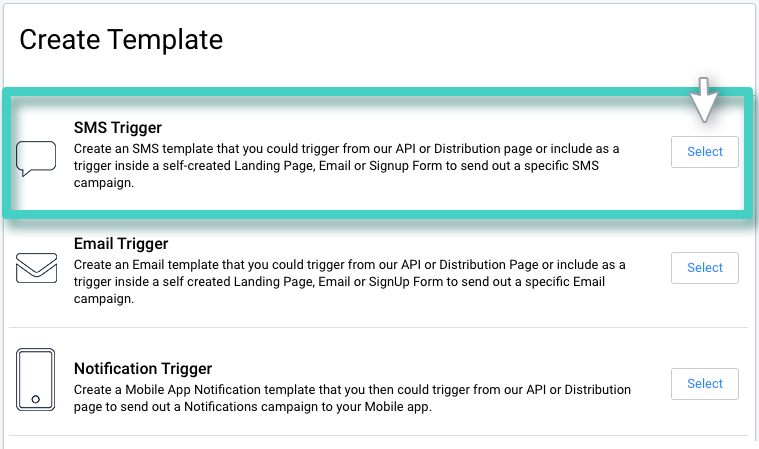
The subsequent screen lists the different Templates that can be created in MainBrainer. Select the SMS Trigger option (as highlighted in the screenshot below).
Step 3
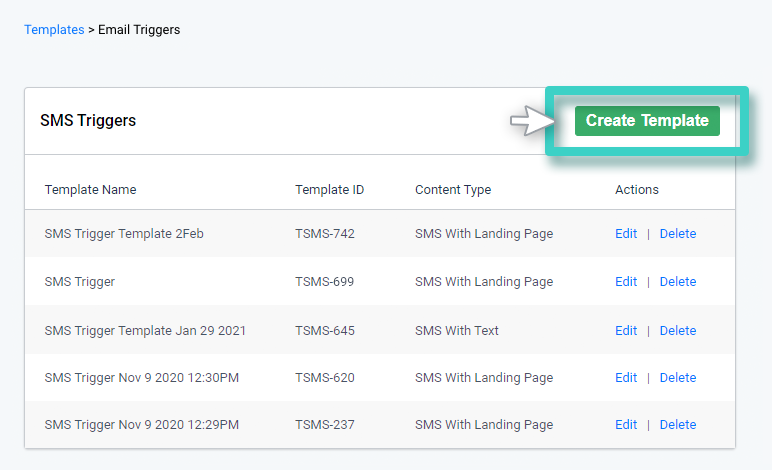
The subsequent page lists all the SMS Trigger Templates created so far. You can edit a previously saved Template by using the Edit button displayed against each listing, or you can create a new Template from scratch by using the Create Template button (as highlighted in the screenshot below).
Step 4
Type in a relevant Template name and description, and click Continue.
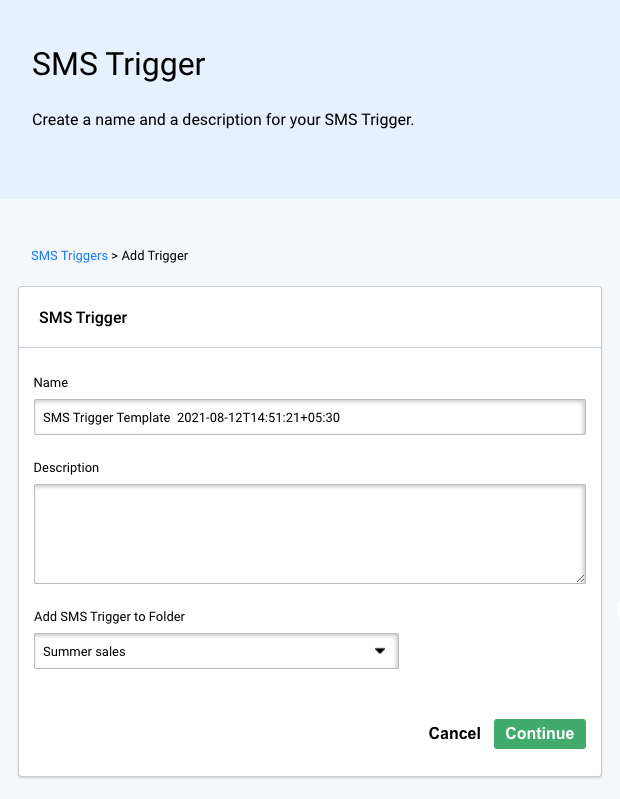
If you choose not to enter a Template name, the platform assigns a default name to the Template with the following structure:
<SMS Trigger Template Creation date Creation time>
For example: SMS Trigger Template 30-07-2021 10:00:00
Step 5
Use the area shown in the screenshot below to enter the SMS Sending details:
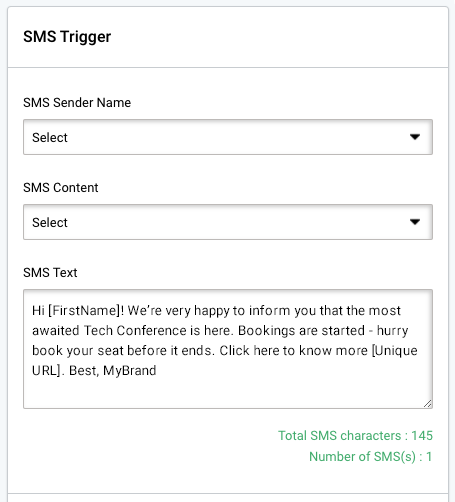
- SMS Sender Name – Use this dropdown to select the Sender Name for this Sending. This name helps the recipients identify who the sender of the SMS is. In case you would like to create a new Sender Name, click the button highlighted as 3 in the screenshot below. When creating a new Sender Name, kindly ensure that you create one per your country’s rules and regulations.
- SMS Content – Use this dropdown to enter the type of content that you intend to distribute – is it an SMS with a Landing Page or an SMS with text only.
- Use the next fields to specify the Landing Page and/or SMS text that you wish to send.
Subsequently, use this area to specify the unsubscribe options that you wish to add to the Sending. You can opt for an unsubscribe option via a shortcode or add the link to an Unsubscribe Form.
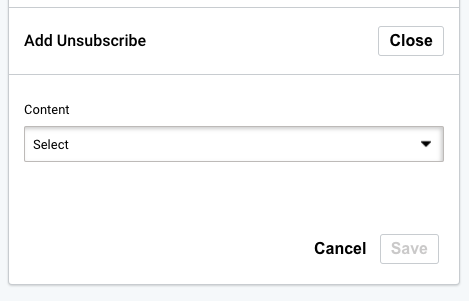
Click Save when done.
Suggested Reading: How to use SMS Trigger Templates?
