Our Landing Page Builder equips you with all the tools you’ll ever need to create high-performing landing pages that convert! That too using simple drag and drop actions, no coding knowledge required!
Here’s a video demonstration to help you get started!
Step 1
Create a new Landing Page
Use the Main Menu on the left to expand the Create menu and click Landing Page.
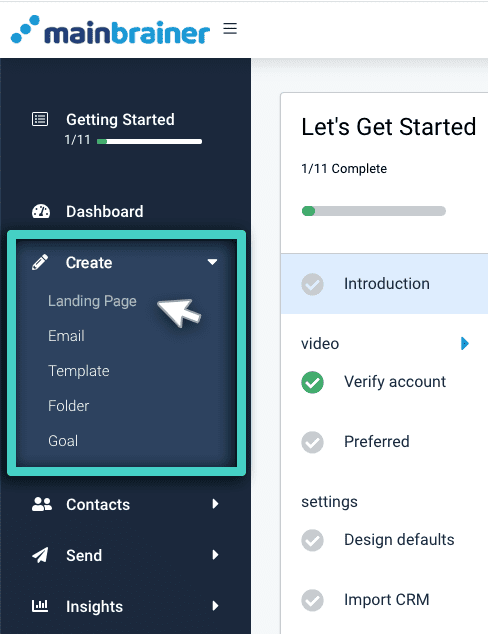
You’ll be redirected to the Landing Page Manager. As you create your landing pages, the landing pages will get listed here. Click the Create Landing Page button (as highlighted in the screenshot below) and proceed to the next step.

Step 2
Give your Landing Page a relevant name and description.
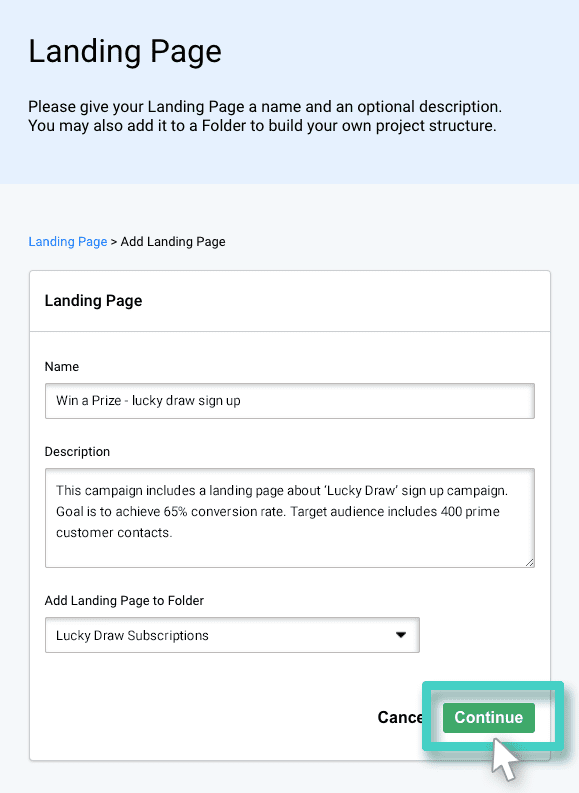
- Name: Use this field to give your landing page a relevant name.
- Description: Use the field to add a relevant description for this landing page. It could be anything – for example, what audience is this landing page targeting? Or the occasion for which you plan to distribute this landing page? Or is it intended to be a part of a special campaign?
This description is not visible to your customers in any way and is purely for your reference. Please feel free to make it as informative as you like, as it will help you search for and identify this landing page later. - Add Landing Page to Folder: Use this dropdown to select the folder to which you would like to add this landing page. While adding your landing page to a folder is optional, we recommend that you always group and organize similar campaigns in Folders.
Once you have entered the above details, click Continue.
Step 3
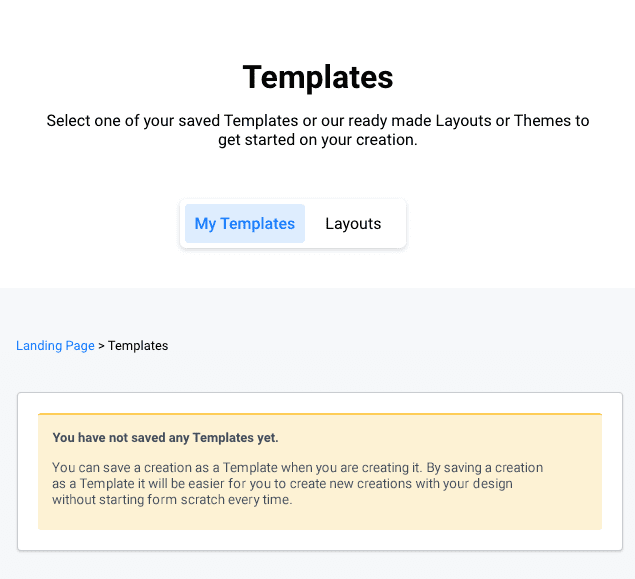
Select the Template that you would like to use as a starting point for your Landing Page.
To help our users save time and energy, we offer templates that can be easily used as a starting point, and modified as you prefer. These ready-to-use templates are available under the Layouts tab. You can select a relevant template that fits in with your campaign theme and priorities, and proceed, or you may choose Start from Scratch in case you wish to design your template from scratch. The My Templates tab lists the landing pages that you have previously saved as templates.
We recommend that you begin with one of our ready-to-use templates. We say so because all our templates have been designed keeping in mind the industry best practices. All the templates are designed to deliver relevant content, keep visitors engaged, and increase conversions.
Step 4
Design your Landing Page
The area marked The Work area in the screenshot below is the space where you design your landing page. Every design element that you will need to build your landing page is available as a Widget on the right-hand side. Drag and drop the required Widgets to the Work area to design your landing page as you prefer.
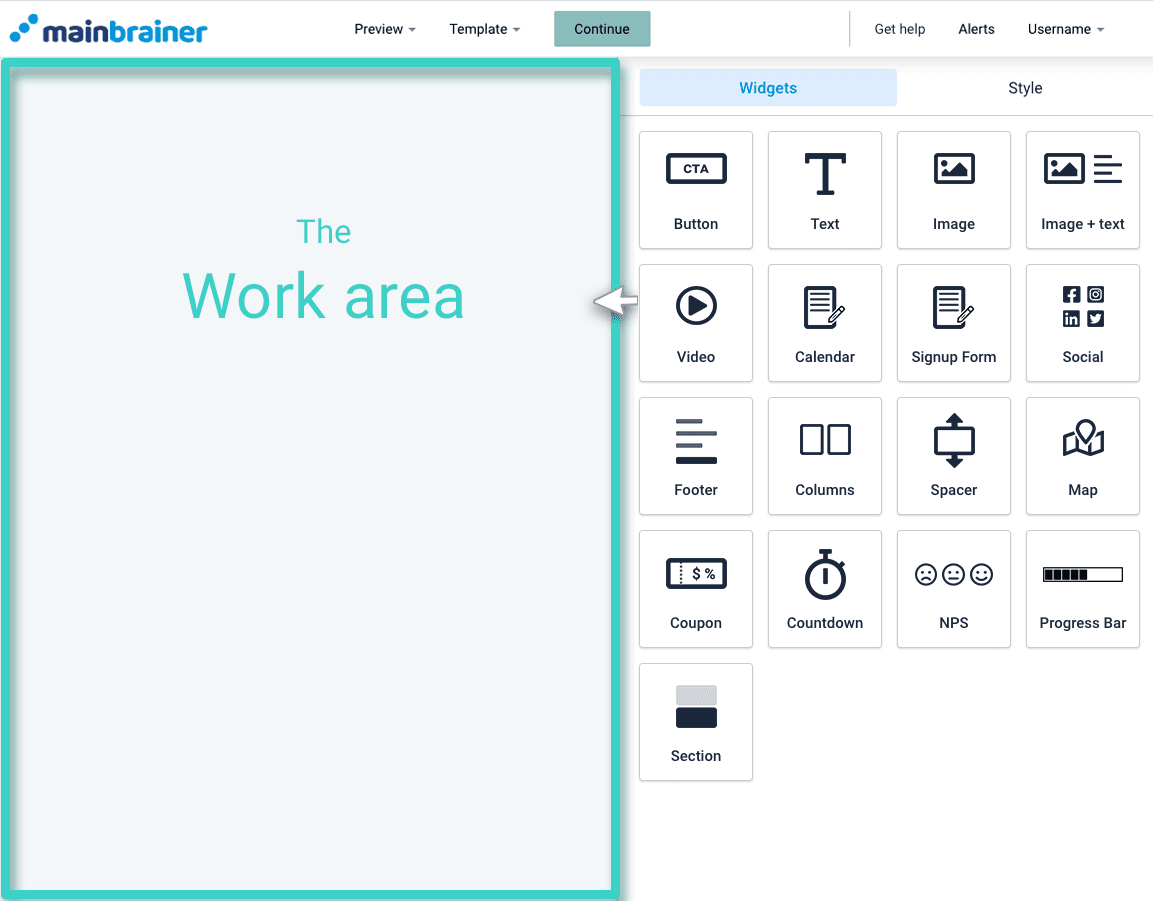
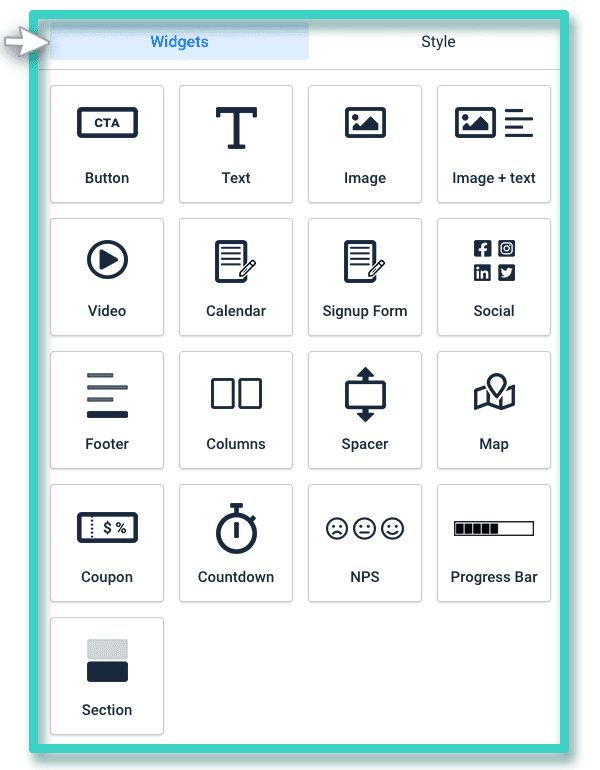
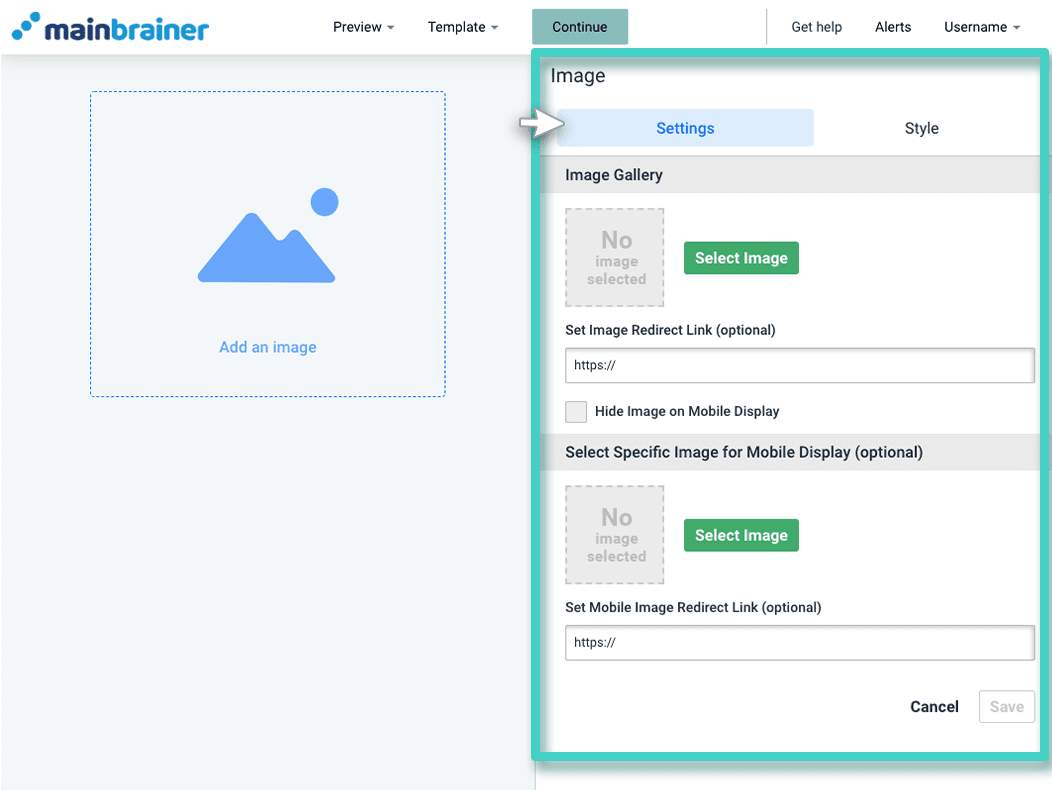
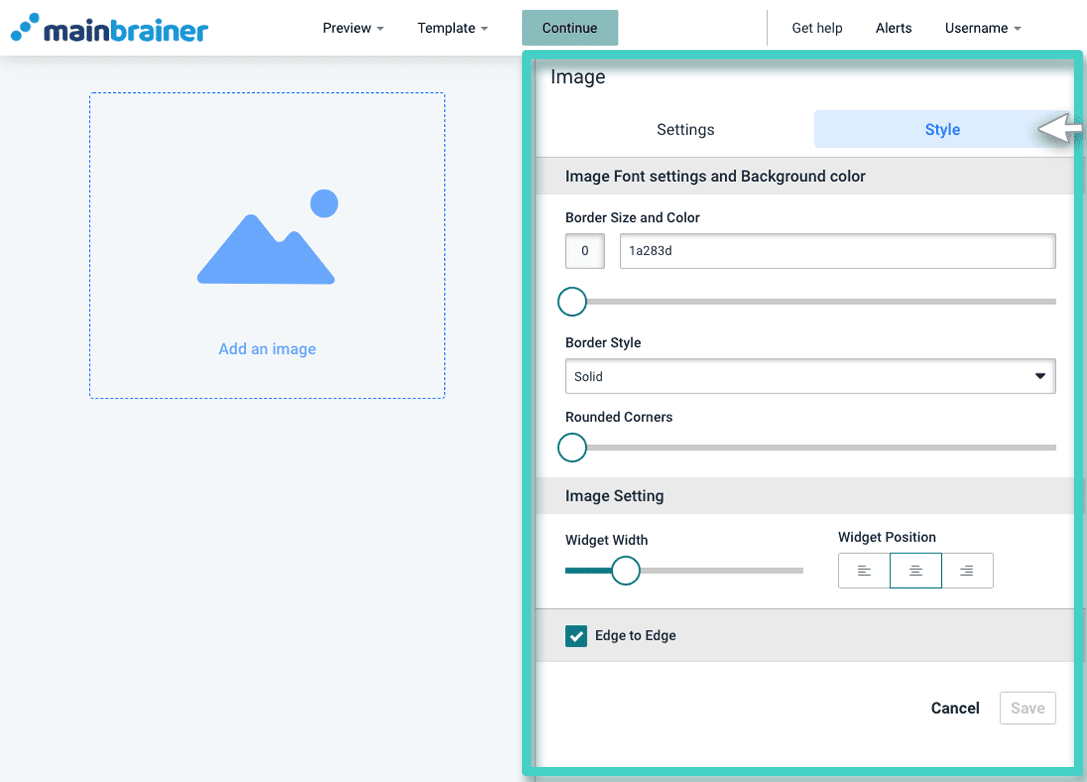
Once you drop a Widget into the Work area, you can customize it and make the necessary adjustments to its look and feel using the Settings and Style tabs. You will find more information about the Settings and Style tabs in each specific widget help article.
Step 5
Preview your Landing Page
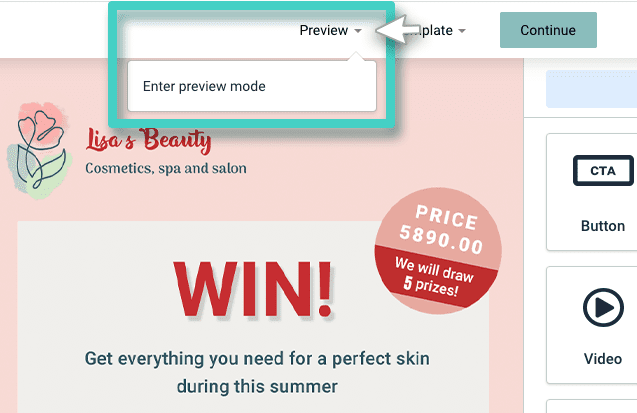
Once you have designed your landing page, use the Enter preview mode option (as highlighted in the screenshot below) to see how your landing page will appear to your recipients.
Step 6
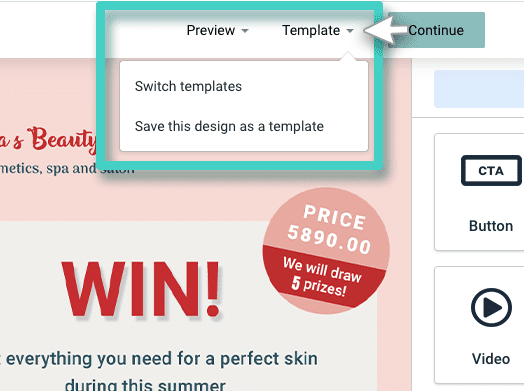
Save your design as a Template
- In case you intend to reuse this landing page design in the future (with modifications or as-it-is), we recommend that you save the design as a template. Doing so will ensure that the next time you create a landing page, this design is readily available under the My Templates tab in the template selection screen (See step 4 above).
- In case you wish to switch templates, you can do so using the menu option- Switch templates under the Template menu.
Step 7
Activate your landing page
Once satisfied with your design, click Continue (as highlighted in the screenshot below).
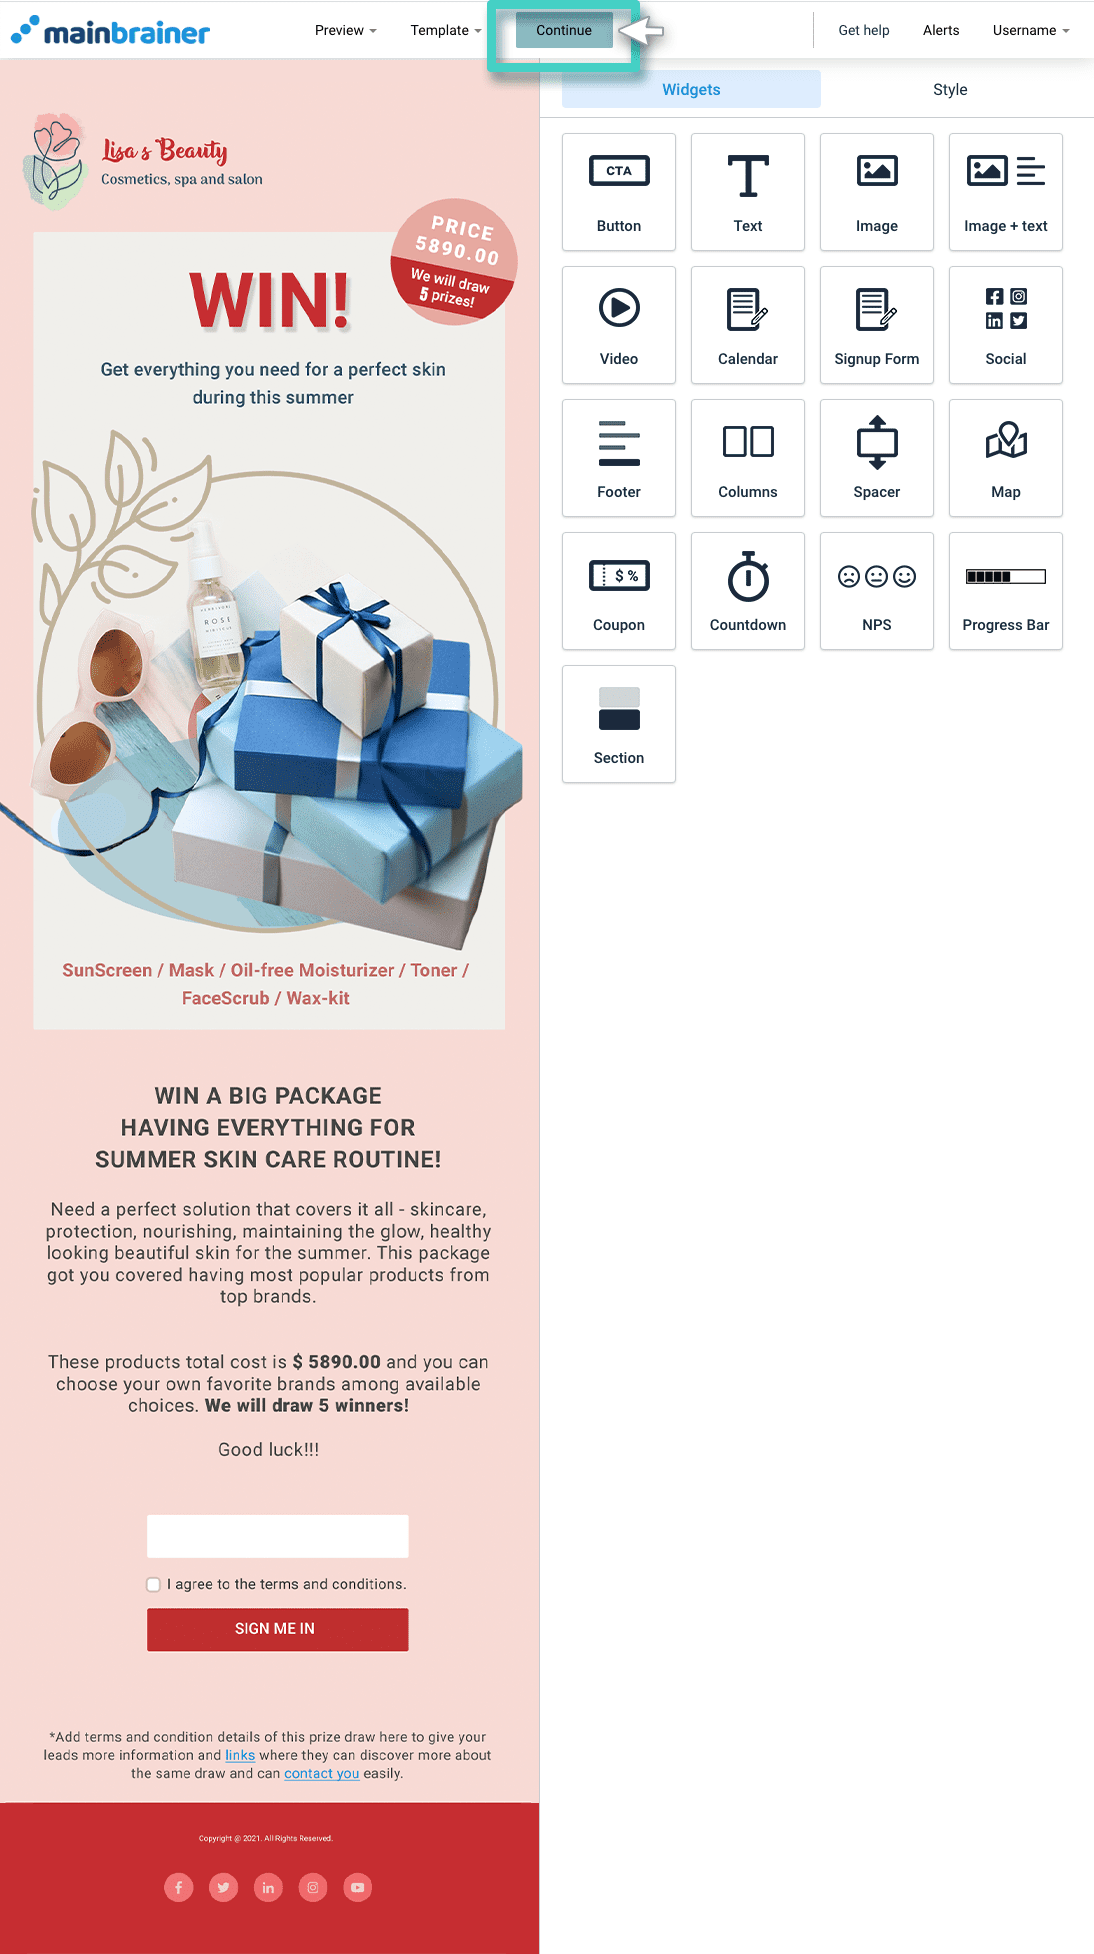
You will now be redirected to the Landing Page Manager.
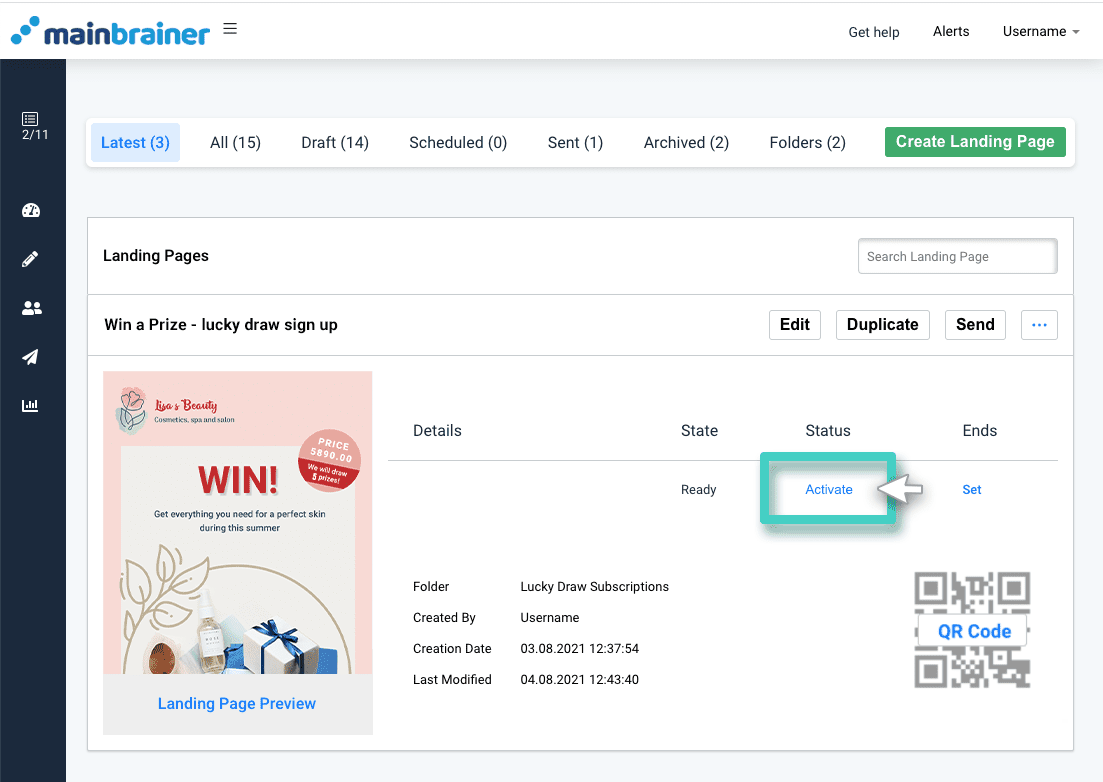
Before you can send your landing page to your contacts, you will need to activate your landing page using the Activate button (as highlighted in the screenshot below).
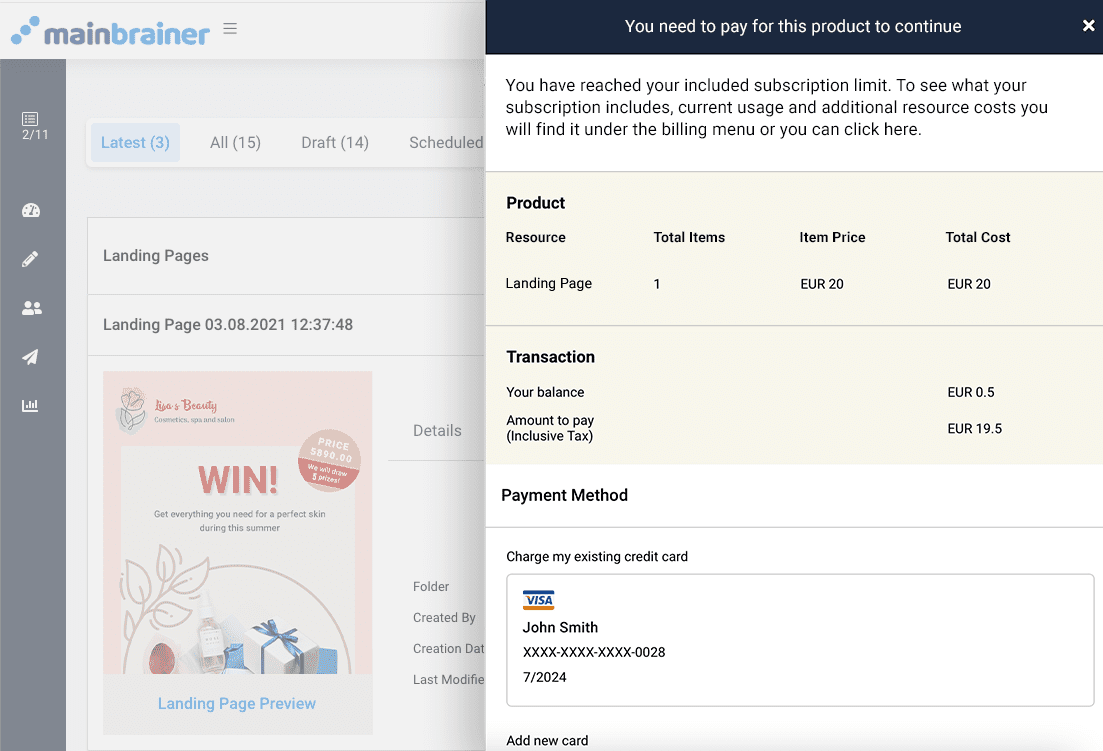
Note: In case you attempt to activate more campaigns than are allocated in your subscription plan, you will be prompted to add necessary funds to your account.
In case your account has insufficient funds to activate the campaign, use the sidebar prompt to add the necessary funds to your account balance.
And just like that, you have successfully created your first Landing Page that is ready to be sent to your audience!
Feel free to play around with our landing page builder Widgets and keep designing engaging landing pages that convert!
And remember, it’s not always necessary to create landing pages from scratch. In case you wish to create a landing page that is minutely different from a previously created one, you can always modify the pre-existing landing page!
