How to access the MainBrainer CRM?
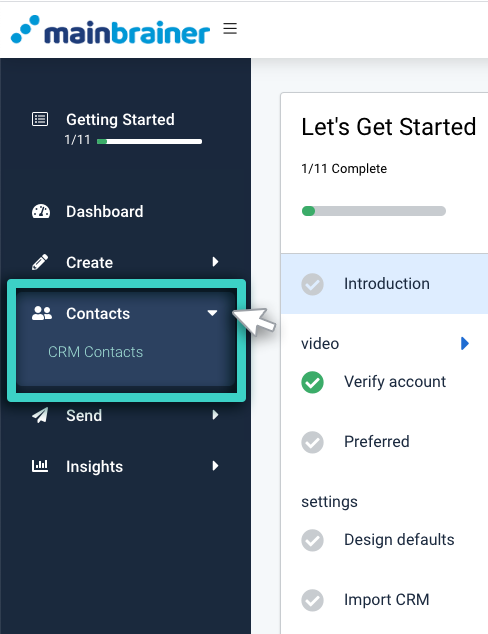
Use the Main Menu on the left to expand the Contacts menu, and click CRM Contacts (as highlighted in the screenshot below).
Navigating the MainBrainer CRM
As you click CRM contacts as explained above, you’ll see all the contact lists created so far in the MainBrainer CRM.
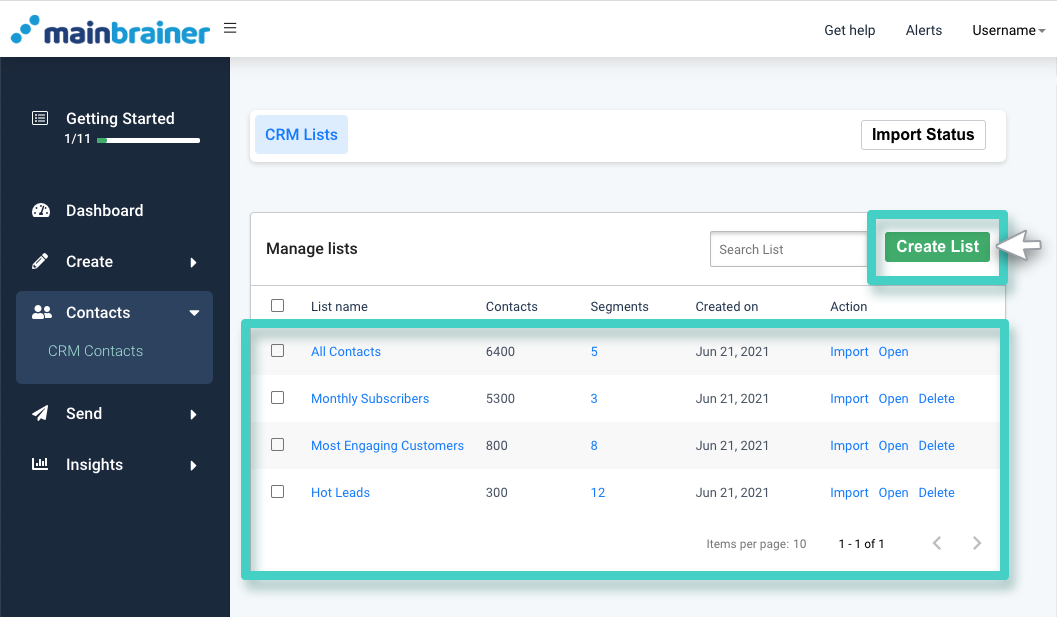
You can use the Create List button highlighted in the above screenshot to create a new CRM list.
As you click a particular list name, the subsequent screen displays all the contacts that are a part of that list.
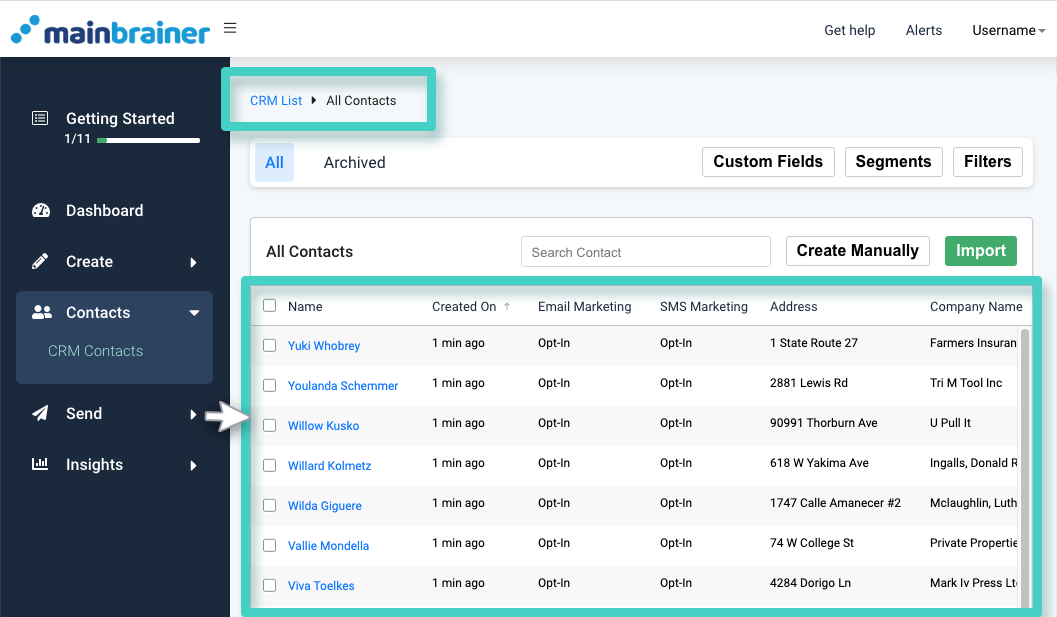
Let’s look into related primary actions that you can access here:
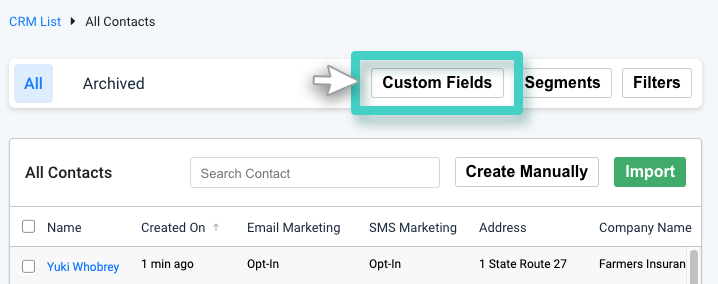
- The Custom Fields button is used to create/edit/view the custom fields created in the MainBrainer CRM. Custom fields are the additional fields you create in the CRM to capture your customer’s custom data.
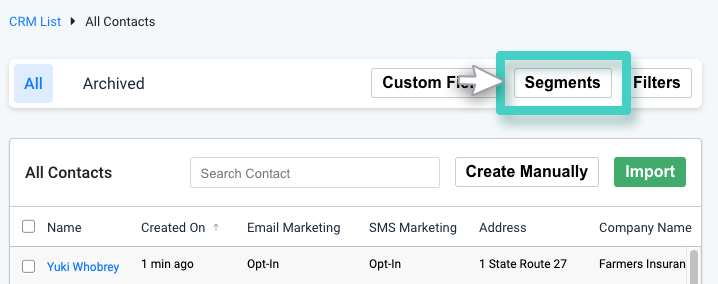
- The Segments button is used to create a new segment to the list or view/edit the segments already created in the CRM list.
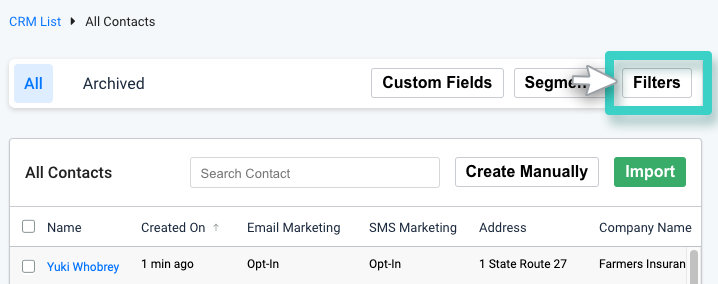
- The Filters button helps you control the custom fields that you want to display and the order in which you want those to be displayed. Note that you can only filter the custom fields and not the default CRM fields.
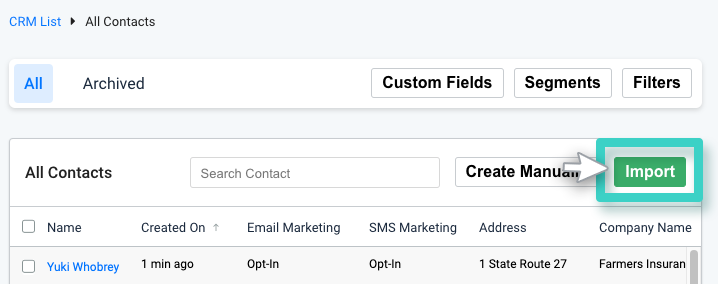
- The Import button helps you import new contacts into the CRM.
- The Create manually button helps you add a new contact manually to the CRM list.
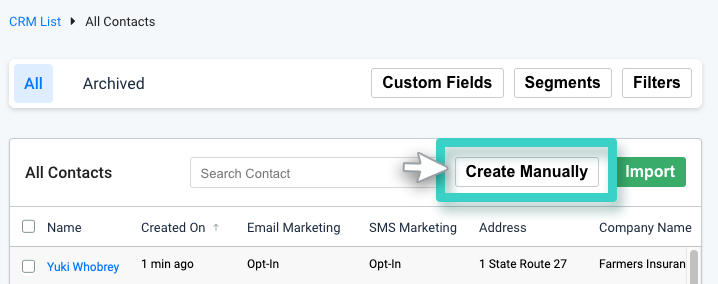
As you click a contact from the list, the subsequent screen will display all the information available for that particular contact.
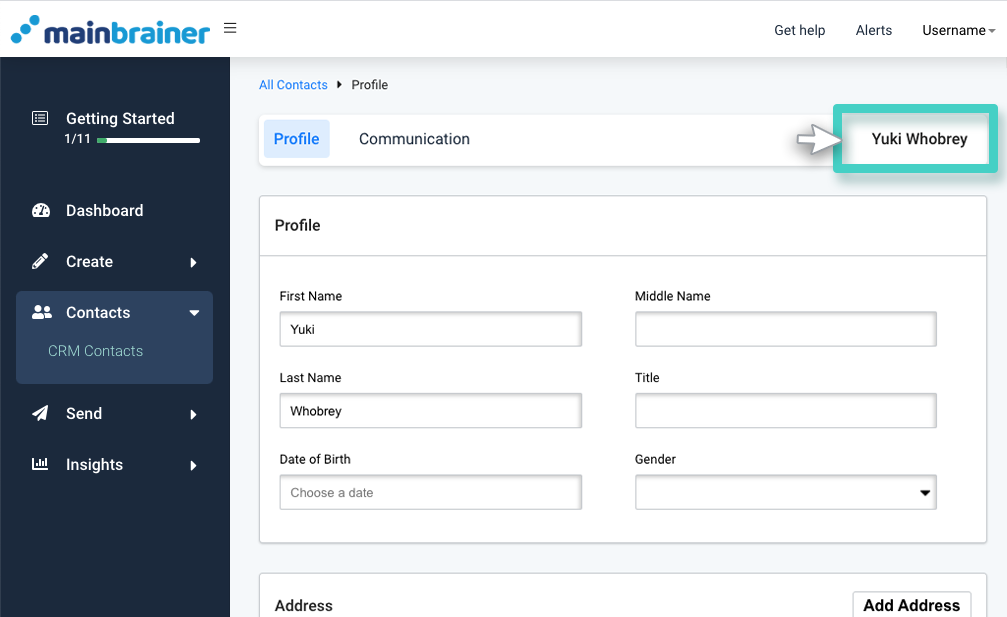
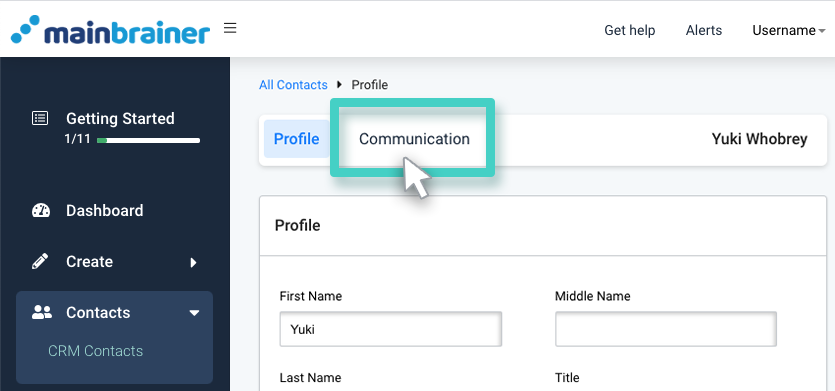
This Contacts detail page includes the following two tabs:
1. The Profile tab – This tab lists the basic profile information saved in the CRM for the selected contact like their name, address, the information stored under the custom fields, etc.
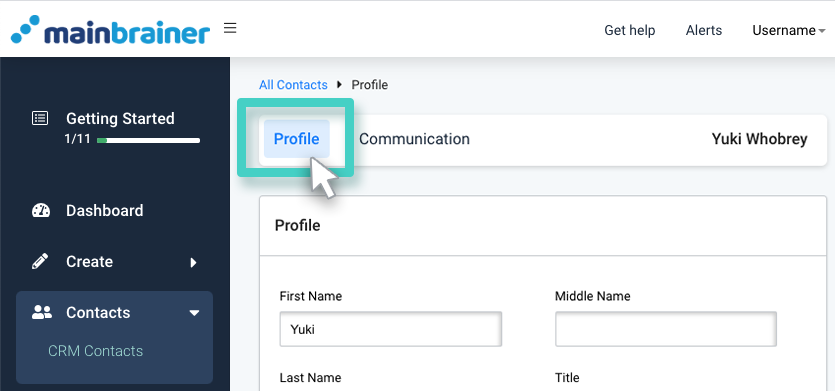
2. The Communication tab – This tab lists the contact information for the selected contact – their mobile number, their Email address, along with their subscription/opt-in status.
