Step 1
Navigate to the CRM
Use the Main Menu on the left to expand the Contacts menu and click CRM Contacts.
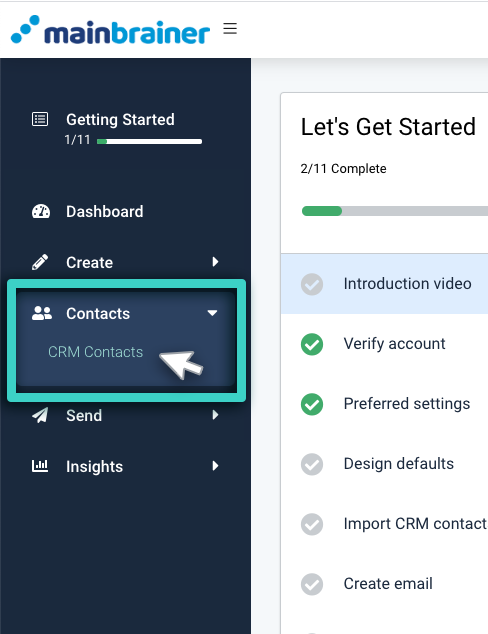
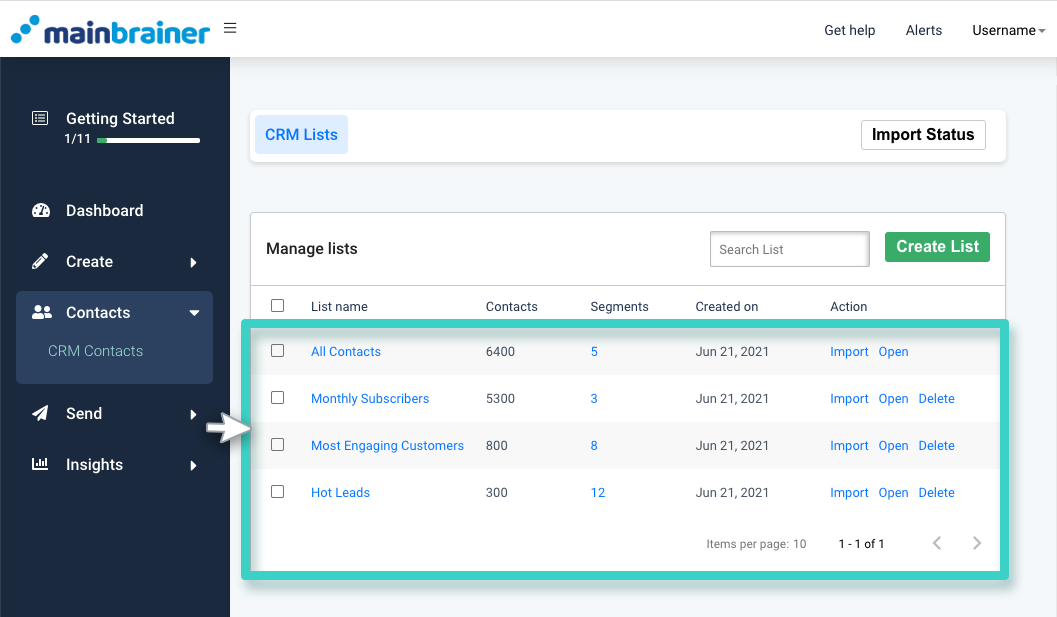
The subsequent page displays all the contacts lists created to date in your MainBrainer account.
Step 2
Open the CRM list for which You Wish to Create a New Custom Field
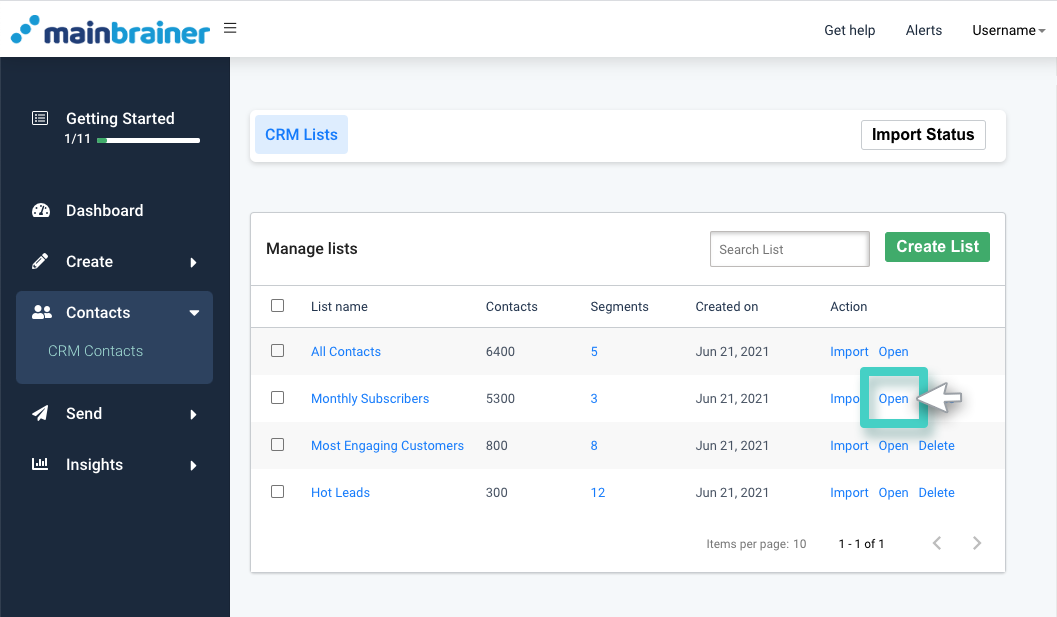
Navigate to the contact list for which you wish to create a new custom field. Click the list name or the Open button to view the list data (as highlighted in the screenshot below).
Step 3
Create a Custom Field
Click the Custom Fields button (as highlighted in the screenshot below).
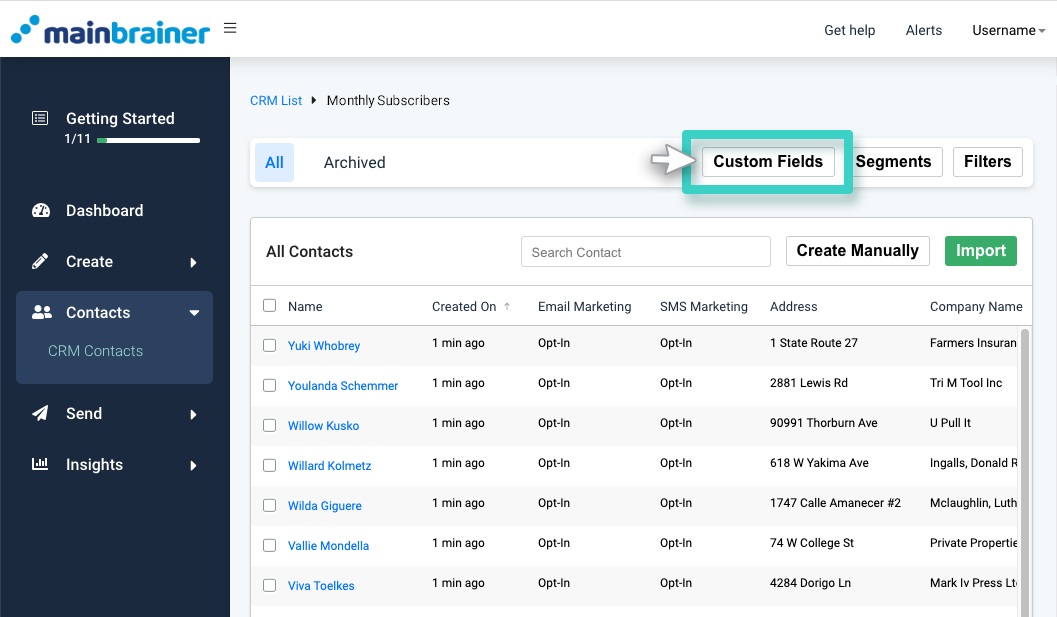
As you do, the next screen will display a list of all the CRM fields that exist in the list.
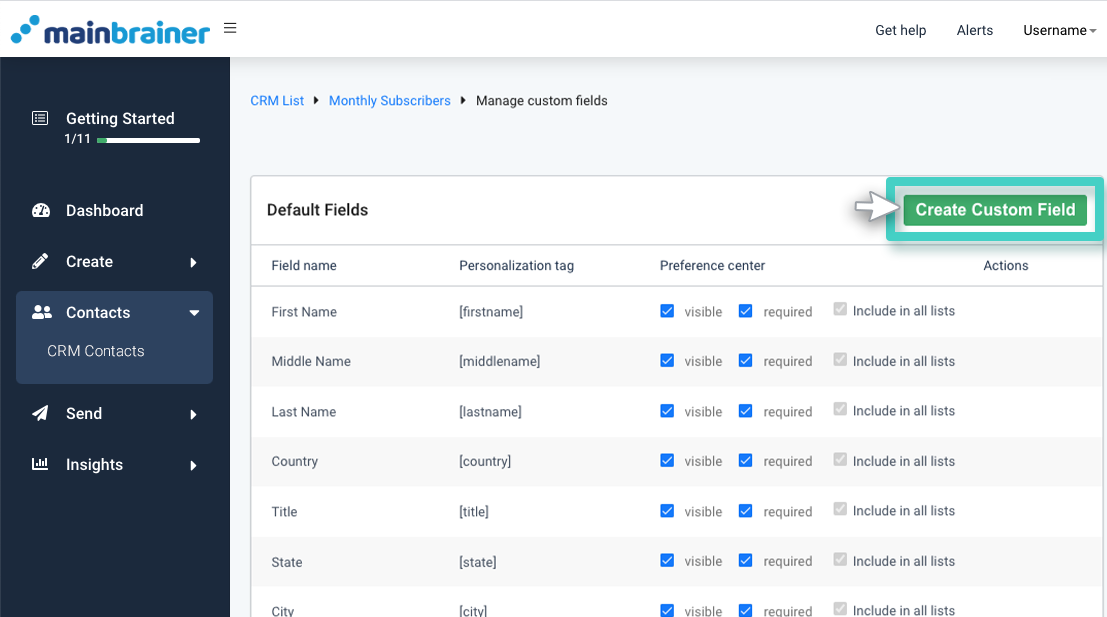
Click the Create Custom Field button (as highlighted in the above screenshot) to create a custom field as per your requirements.
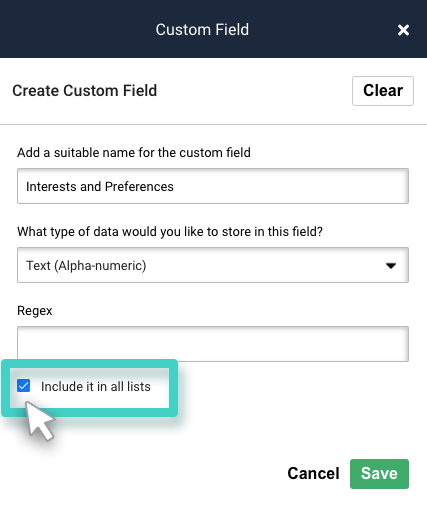
As you do, you’ll need to enter the custom field details in the sidebar (as highlighted in the screenshot below).
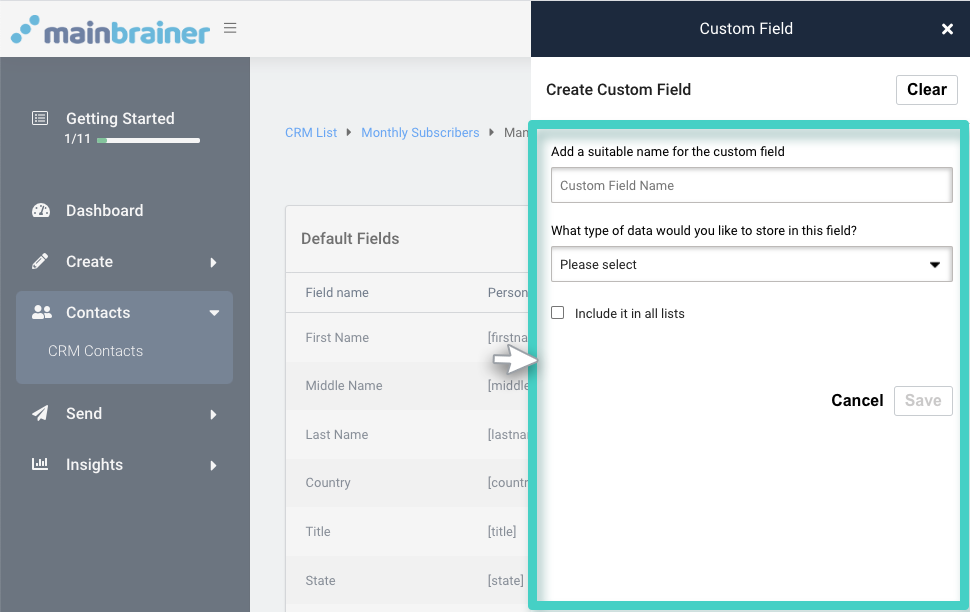
Within this Custom Field creation sidebar you will find the following fields:
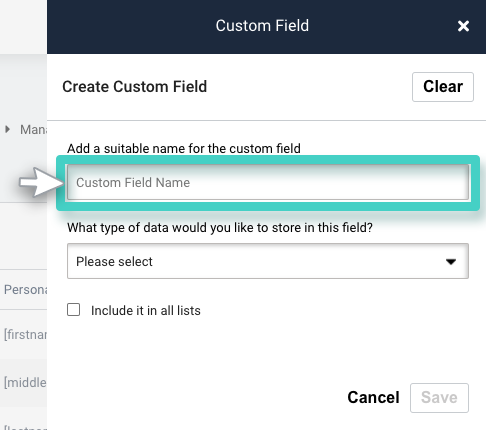
3.1 Add a suitable name for the custom field
Use this field to type in a relevant name for the custom field.
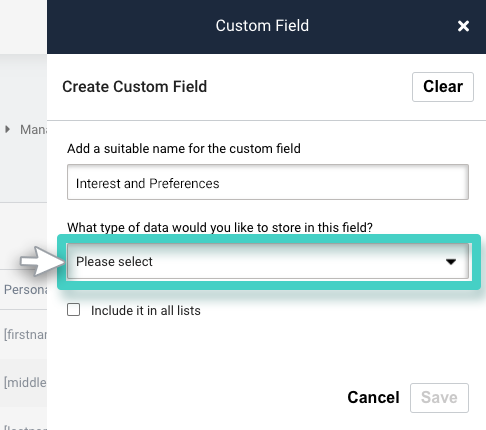
3.2 What type of data would you like to store in this field?
Use this field to specify the data type of the data that you would be storing in the custom field. Depending on the data type you enter here, the next fields will be displayed wherein you’ll need to enter the subsequent details.
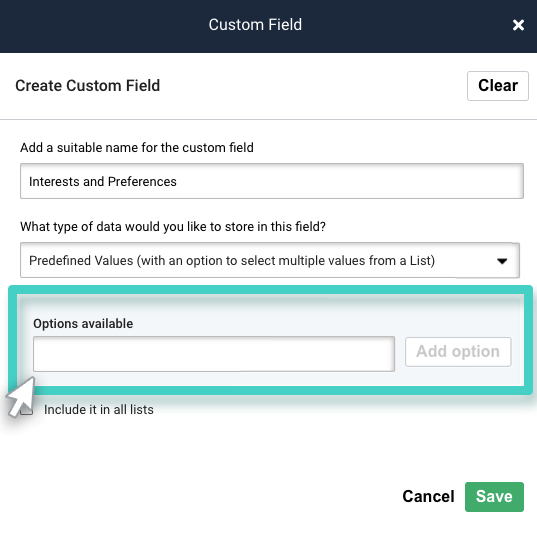
- In case you select Predefined Values (with an option to select multiple values from a List) as the data type, you’ll need to define those values using the next field as highlighted in the screenshot below. Type in the value in the text box and click the Add option button. You can add as many options as you wish. When you add a contact to the CRM, this field will accept data from the options you specify here. This field, when added to a signup form, will display these options to the user. The user will be able to select one or multiple options from the list when submitting the form.
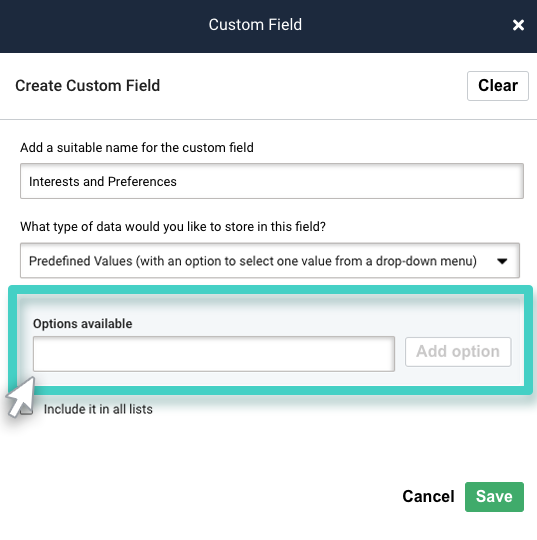
- In case you select Predefined Values (with an option to select one value from a drop-down menu) as the data type, you’ll need to define those values using the next field (as highlighted in the screenshot below). Type in the value in the text box and click the Add option button. You can add as many options as you wish. When you add a contact to the CRM, this field will only accept one of the options you specify here. This field, when added to a signup form, will display these options to the user. The user will be able to select one of the options from the list when submitting the form.
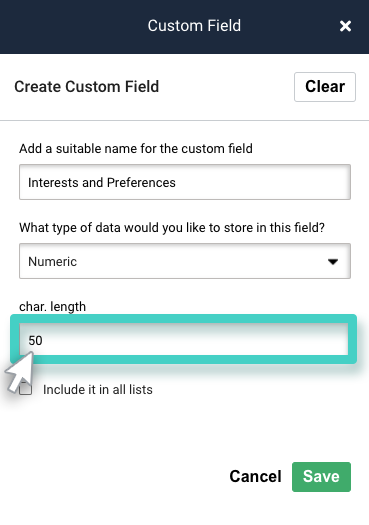
- In case you select Numeric as the data type, you’ll need to define the maximum character length for the custom field using the next field char. Length.
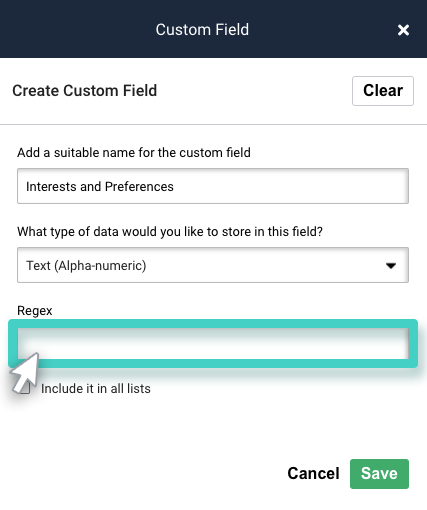
- In case you select Text (Alphanumeric) as the data type, you can specify further validation criteria using the subsequent Regex field.
3.3 Include it in all lists
Use this checkbox to specify whether you wish to add the custom field to the selected CRM list only or if you wish to make it a part of all your CRM lists.
Click the Save button.
