The MainBrainer CRM has been designed with you in mind. You control everything, and You decide all the import rules for Your data.
After all, every business has its unique requirements and uses its own terminology. We at MainBrainer want you to have a CRM that runs by your rules.
When importing a file into the CRM, by default, the values for the opt-in status fields (i.e., the fields – SMS Marketing and Email Marketing) need to be passed as:
- True/Yes for contacts who have opted in, and
- False/No for contacts who have opted out.
But we understand that the data you wish to import might contain the opt-in status with different terminology, say OptedIn for contacts who have opted in and OptedOut for those who have opted out.
How to Import a File with custom values as Opt-in Status
In such a case, you can edit the field settings of the CRM’s opt-in status fields (i.e., the fields – SMS Marketing and Email Marketing) in accordance with your incoming data.
You can do so at the Mapping step of your data import process.
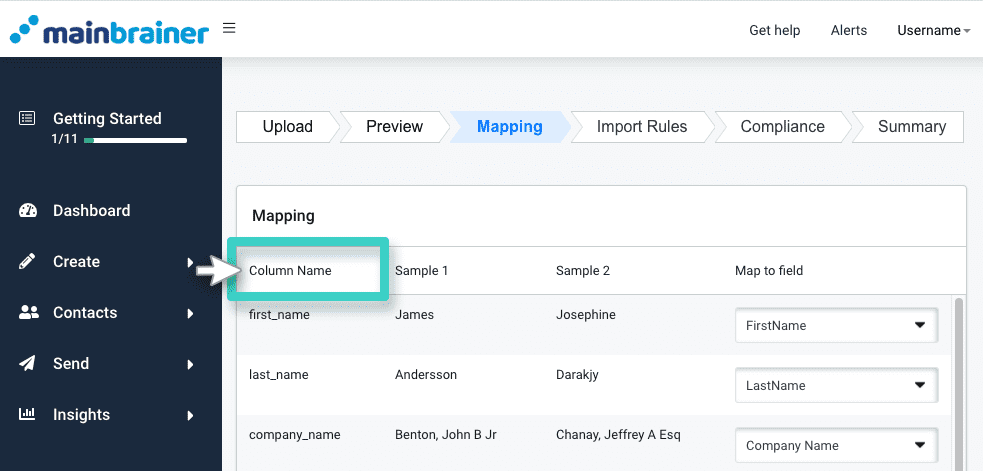
On the Mapping screen, the entries under the heading Column Name represent the columns in your import file.
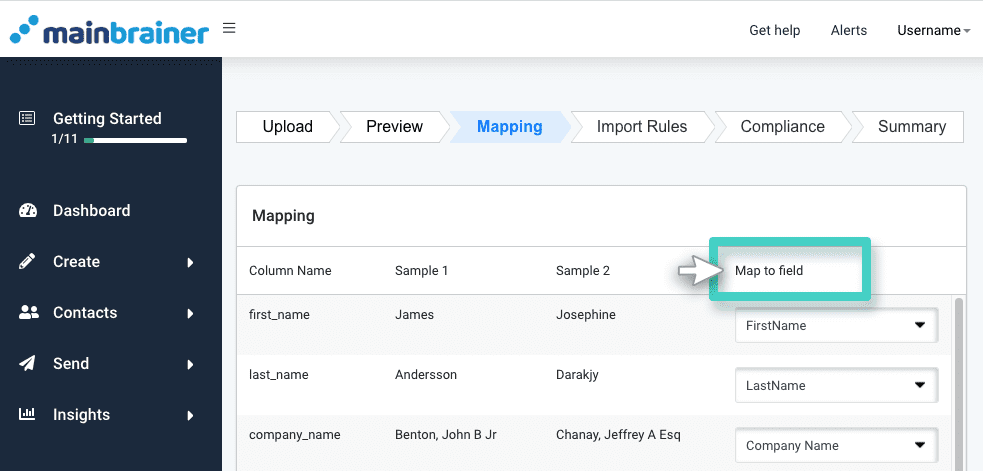
The entries under the heading Map to field represent the fields available in the MainBrainer CRM.
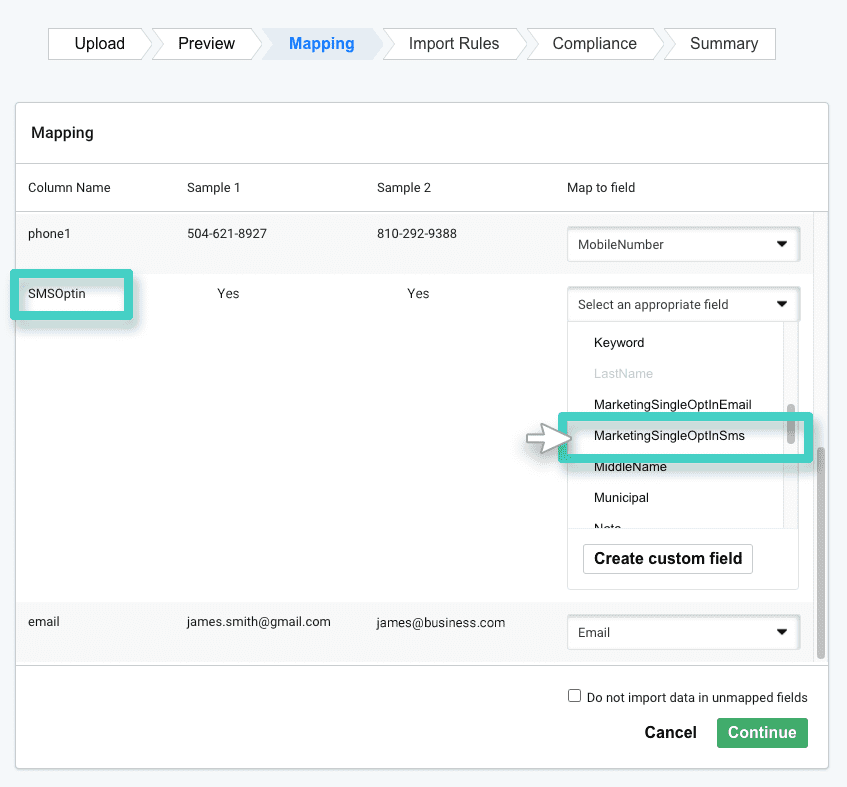
Scroll down the list and navigate to the opt-in status field in your import file for which you wish to customize the field settings to suit your incoming data.
For example, let’s take the case of the SMSOptIn field in your Excel file. Corresponding to this field, use the drop-down menu (as highlighted in the screenshot below) to select the value MarketingSingleOptinSMS.
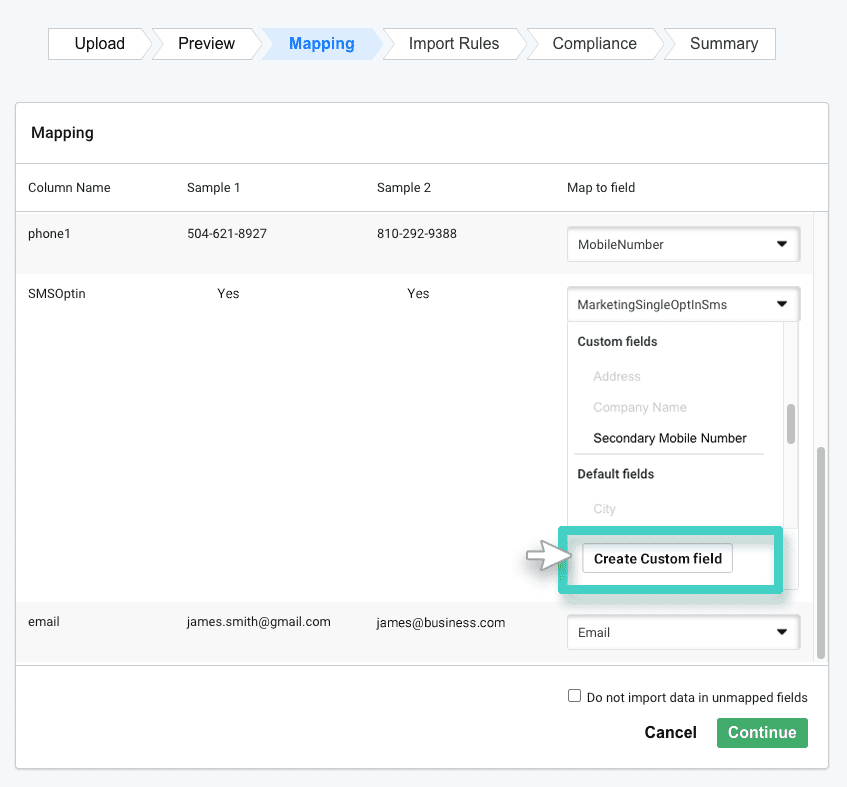
After you do, again expand the drop-down menu and click the Create custom field.
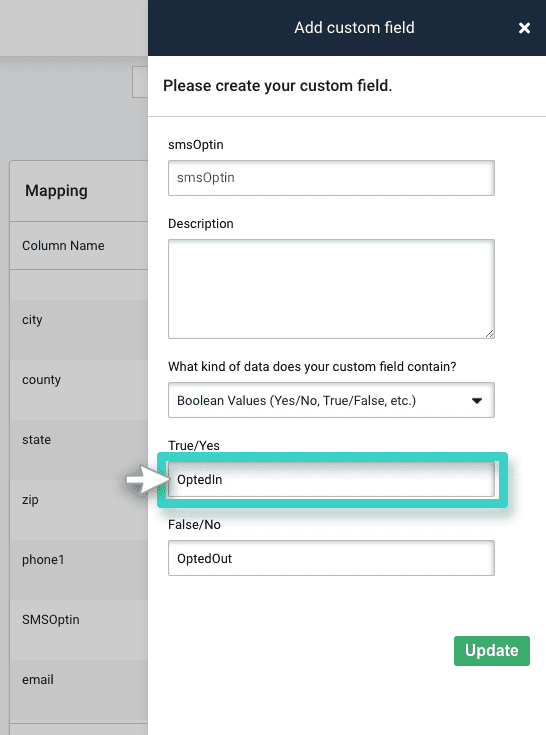
In the slider that subsequently opens, as highlighted in the screenshot below,
- Use the following highlighted field to enter the text in your import file that translates to opted-in status.
- Use the following field to enter the text in your import file that translates to opted-out status.
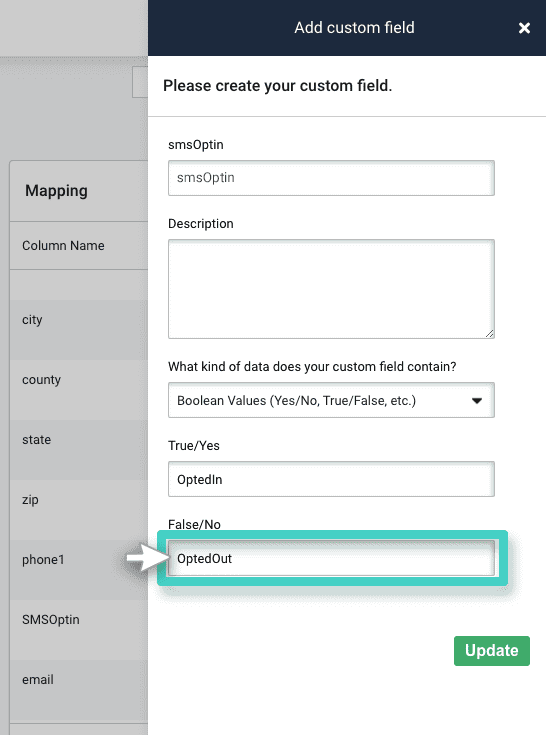
The texts that you enter above can be alphanumeric.
For example, it could be Optin and Optout for opted-in and opted-out statuses, respectively. Or it could be 0 for opted-in and 1 for opted-out status.
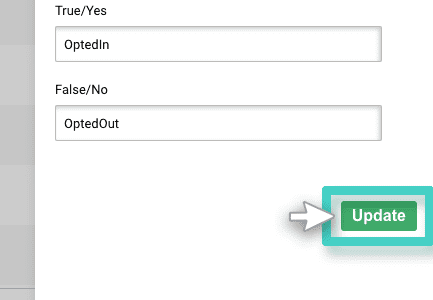
Click Update when done to continue to the next step of the import process.
Your data will now be imported to the CRM in accordance with the texts that you specified above. Entries without data under these fields will be imported as No Consent.
