The Footer widget helps you add a footer section to your landing page.
How to use a Footer Widget on a Landing Page?
Step 1
Navigate to the landing page builder
Use the Main Menu on the left to create a landing page and subsequently navigate to the landing page builder.
Step 2
Add a Footer widget to your landing page
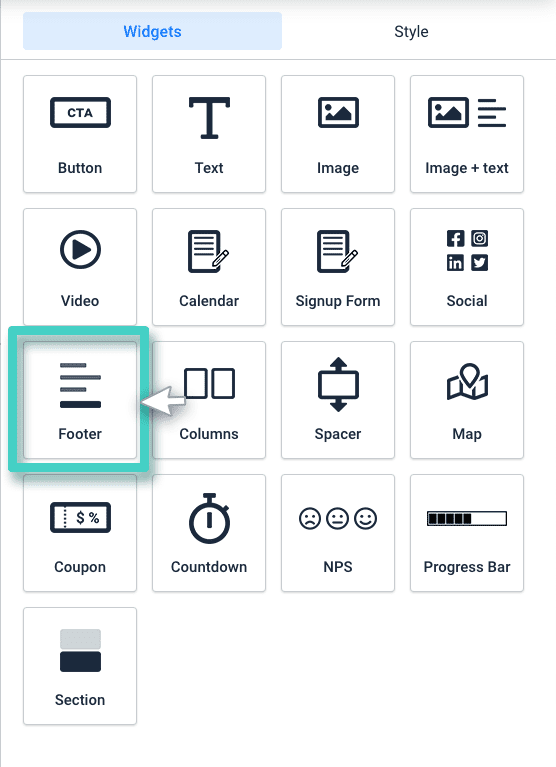
The blank area on the left is the Work area where you design your landing page, and the area on the right is the tools area where all the available design elements are displayed as Widgets.
To add a Footer to your landing page, drag and drop the Footer widget to the work area (as highlighted in the screenshot below).

Step 3
Type in the relevant text for the footer section
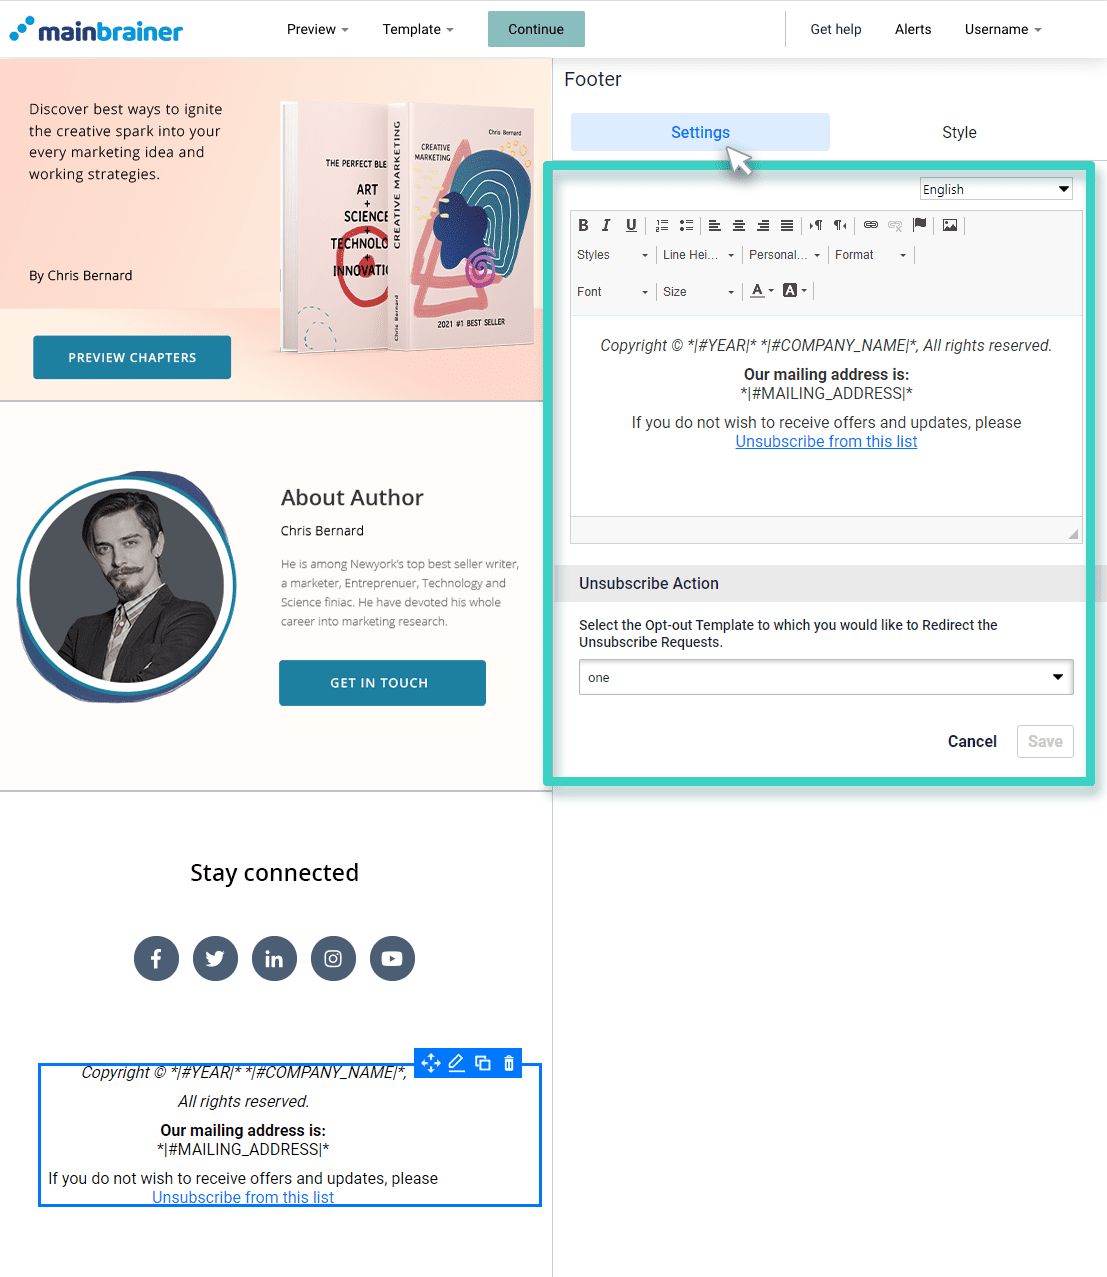
As you drop the widget into the work area, the widget Settings are displayed on the right (as highlighted in the screenshot below).

As highlighted in the above screenshot, type in the text in the text editor on the right. All the formatting options that you might need, for example, text color, size, style, background color, alignment, etc., are available in the text editor itself.
Step 4
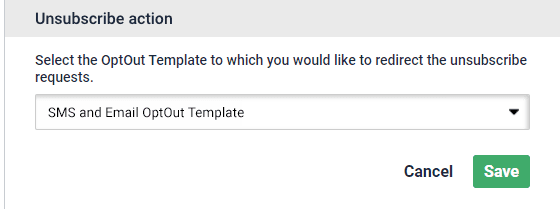
Specify the opt-out template to which you want to redirect the unsubscribe requests.

All the opt-out templates available in your account are displayed in the dropdown menu highlighted in the above screenshot. If you haven’t created any opt-out templates yet, first create them using the navigation path: Create >> Templates >> SMS and Email unsubscribe.
Select the opt-out template to which you want to redirect the unsubscribe requests, and click Save.
Step 5
Style your Footer widget
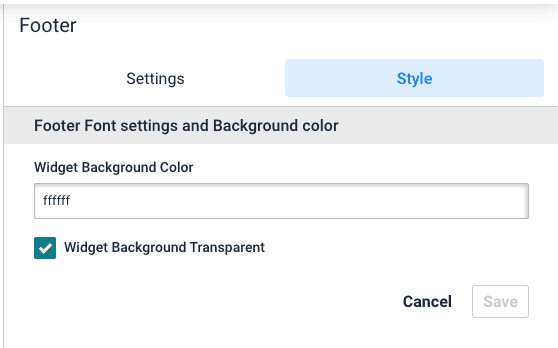
Use the options available under the Style tab to customize the widget as per your design preferences.

Herein, use the fields under Footer Font settings and Background color to change the color of the widget background. You can also choose to make this area transparent by checking the box – Widget Background Transparent.
Click Save and that’s it!
You have successfully added a footer to your landing page!
Let’s proceed, and have a look at how to divide the work area into multiple columns using the Columns Widget!
